
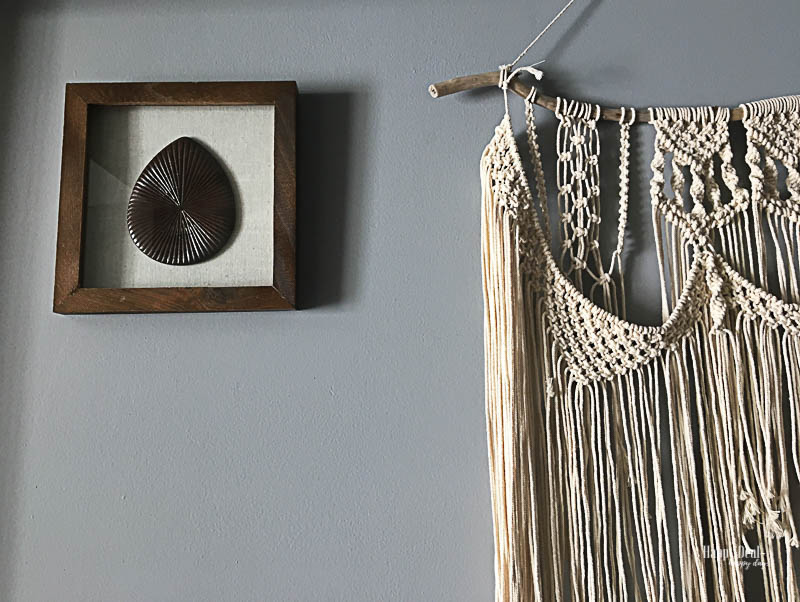
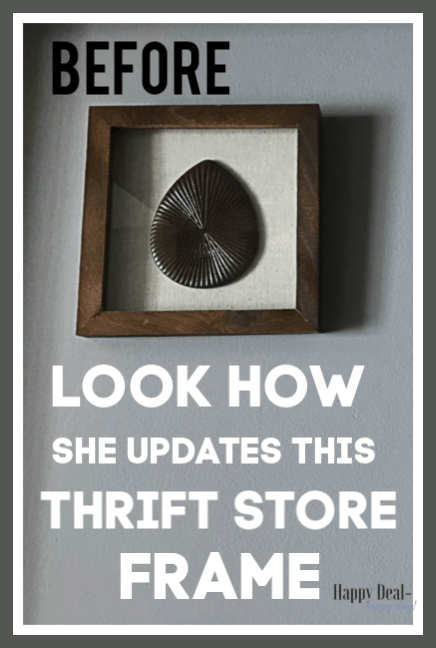
I recently completed a new DIY wall decor project that turned out to be a thrift store makeover. I found these nice solid wood frames with these plastic leaves in the center at a thrift store for just 25 cents each!
I actually liked them the way they were when I first saw them.

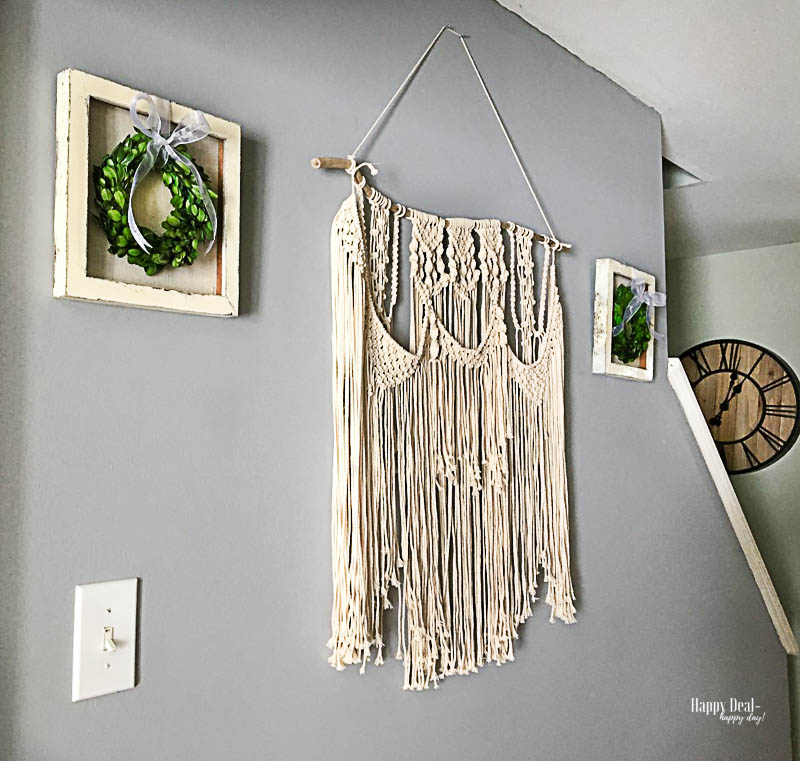
But I came home and hung them up next to this macramé wall hanging I made, and they just didn’t do it for me. It kind of screamed the 90’s to me after awhile and I decided they needed to be brighter with a pop of color.
One of them also had a small crack in the glass in the corner.
So check out the full tutorial below and see how I made completed this thrift store makeover into new DIY wall art!
Materials needed for your thrift store makeover wall decor:
- a picture frame that needs updating
- Antique White Spray Paint
- Dremel Multi-Max Tool – with sanding attachment
- (2) 6 inch Boxwood Wreaths
- White Organza Sheer Ribbon
- Staple Gun
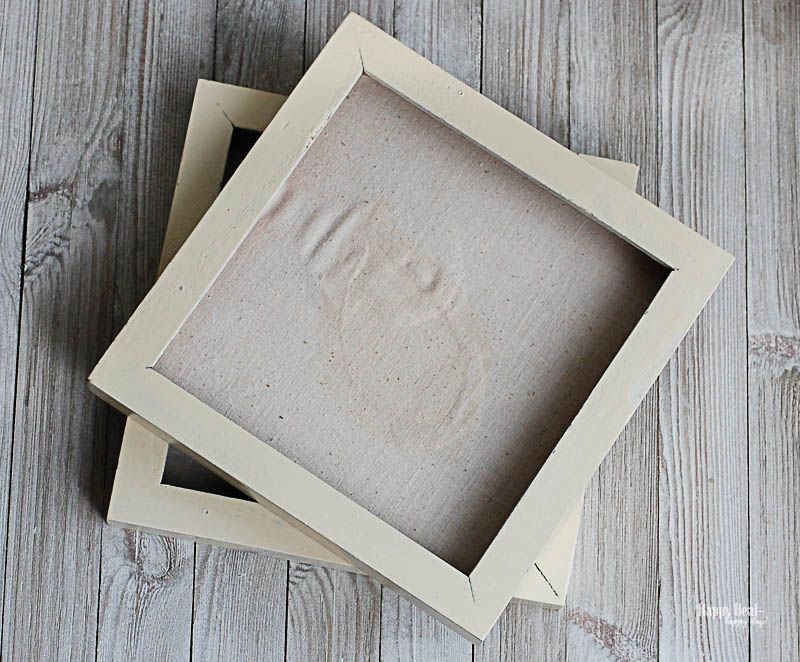
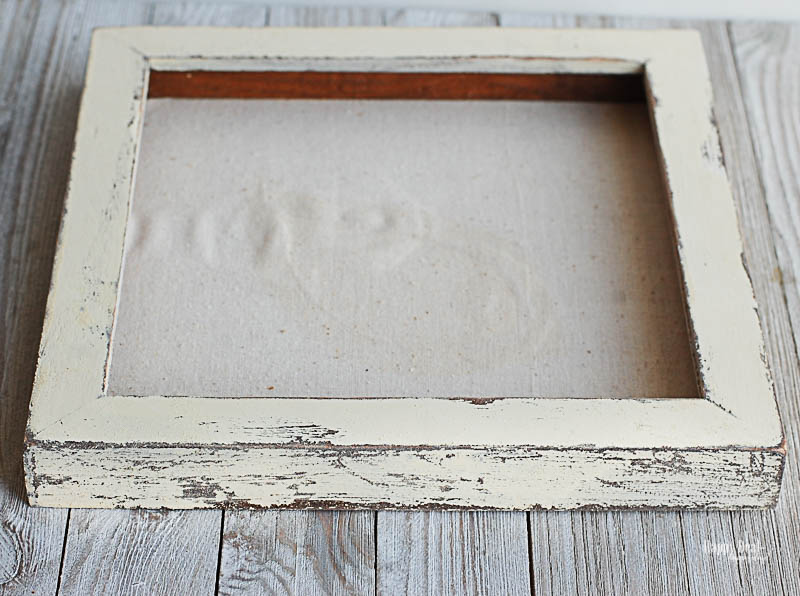
First I took out the glass and peeled off the plastic leaves. Then I spray painted the frames in an antique white spray paint.
When spray painting, its always a good idea to spray 2 or 3 thin coats vs. one thick coat. A thick coat of spray paint always drips and won’t come out evenly.
Because I knew I was going to do the distressed look on these frames, I knew they didn’t have to be painted perfectly even, which meant I quickly sprayed on two coats instead of meticulously spraying on three, very even coats.
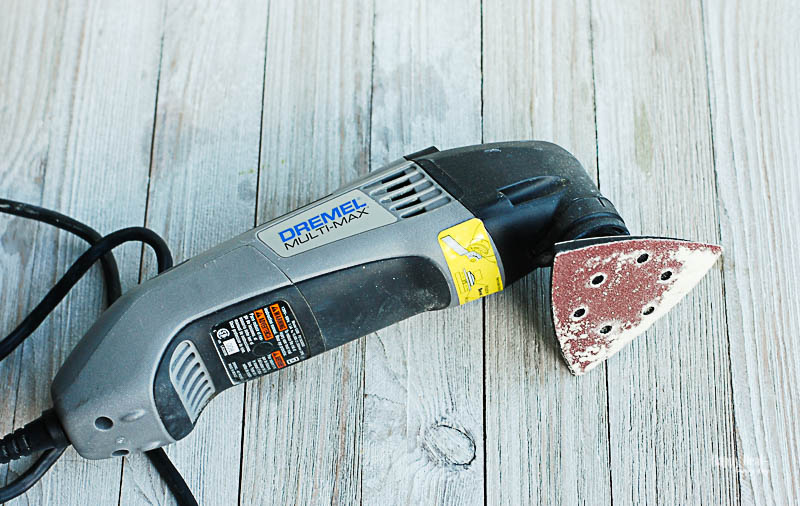
My favorite way to get the distressed look on anything wood is to use a Dremel Multi-Max tool with the sanding attachment.
I used this when I updated a bunch of furniture in my guest room.
After I let my spray paint dry for a few hours (ideally overnight), then I turned on the Dremel and let it do a very quick sanding job on the edges where I wanted distress marks to show through.

It’s super fast and took me probably less than 5 minutes per frame to complete.
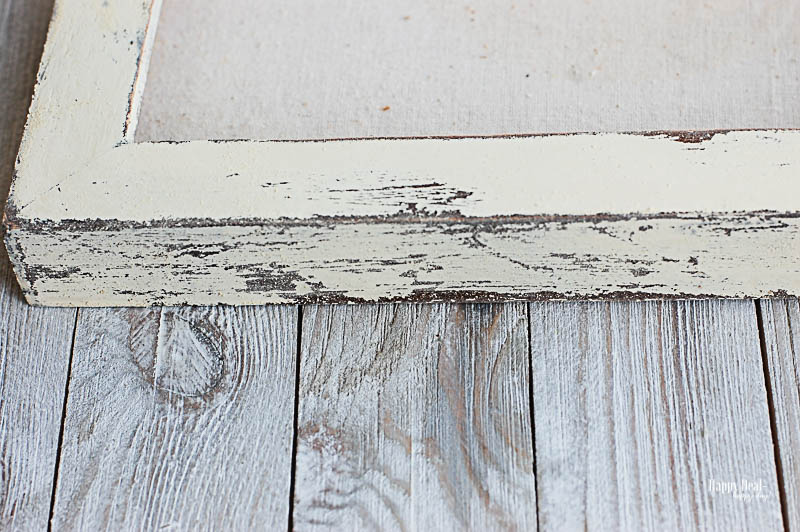
I do recommend doing the sanding outside or in a well ventilated area since paint dust will be flying!
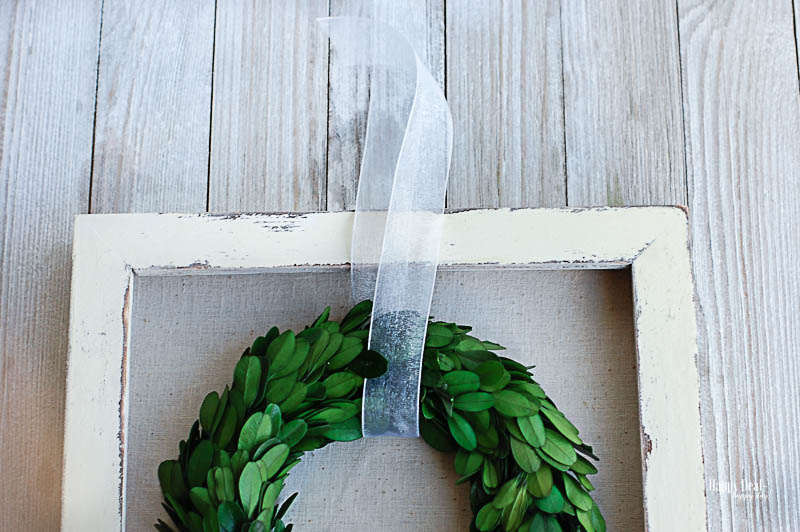
After the frame was painted and distressed, I hung this 6″ Boxwood wreath on the frame using sheer organza white ribbon.
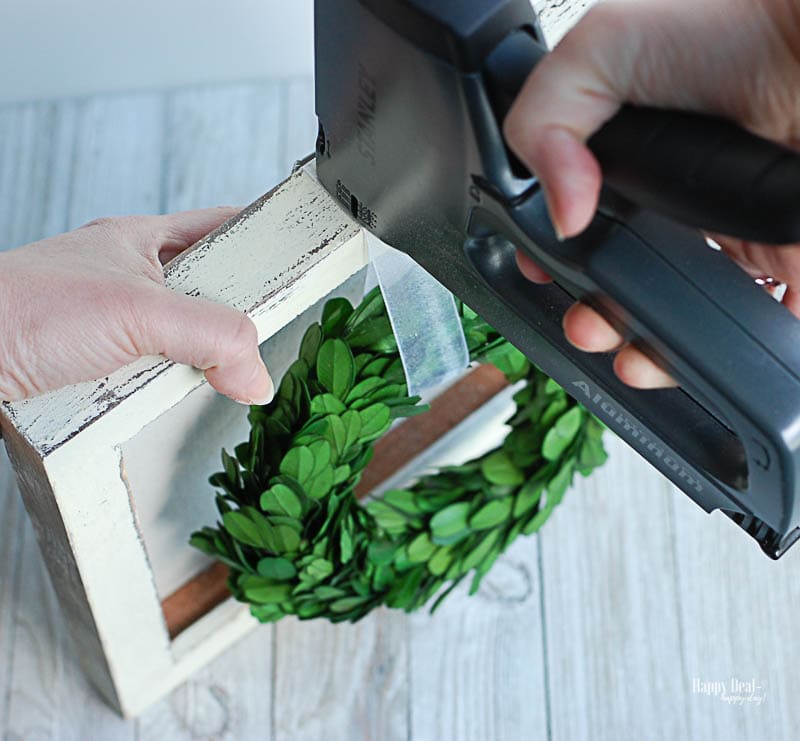
To hold the ribbon, I used my staple gun and stapled the ribbon to the top of the frame.
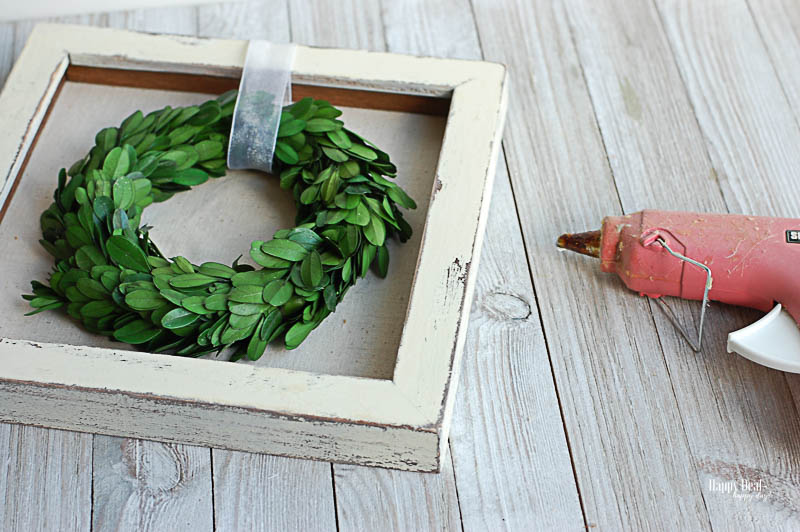
After the ribbon was stapled in place, I also glued down the boxwood wreath to the back of the frame using a generous amount of hot glue. Otherwise the wreath would have not sat flat against the back of the frame if I let it hang with just the ribbon.
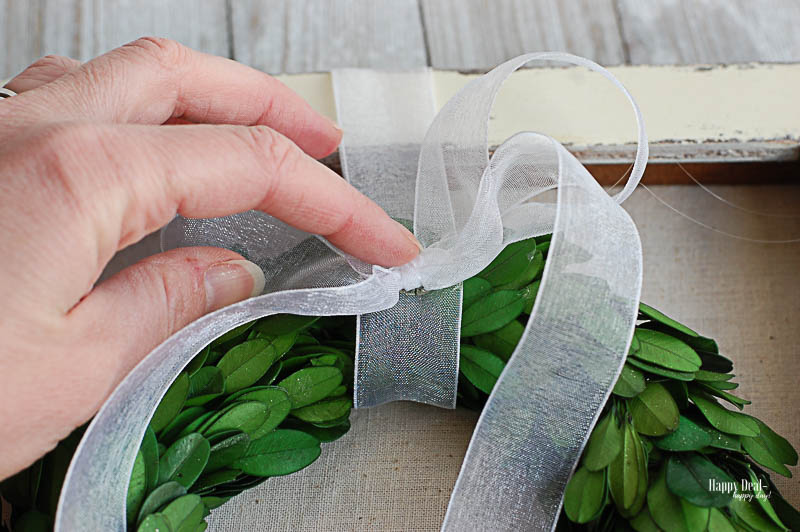
I also tied a bow with the same sheer white ribbon and hot glued that to the top of the wreath, onto the hanging ribbon wrapped around the wreath.
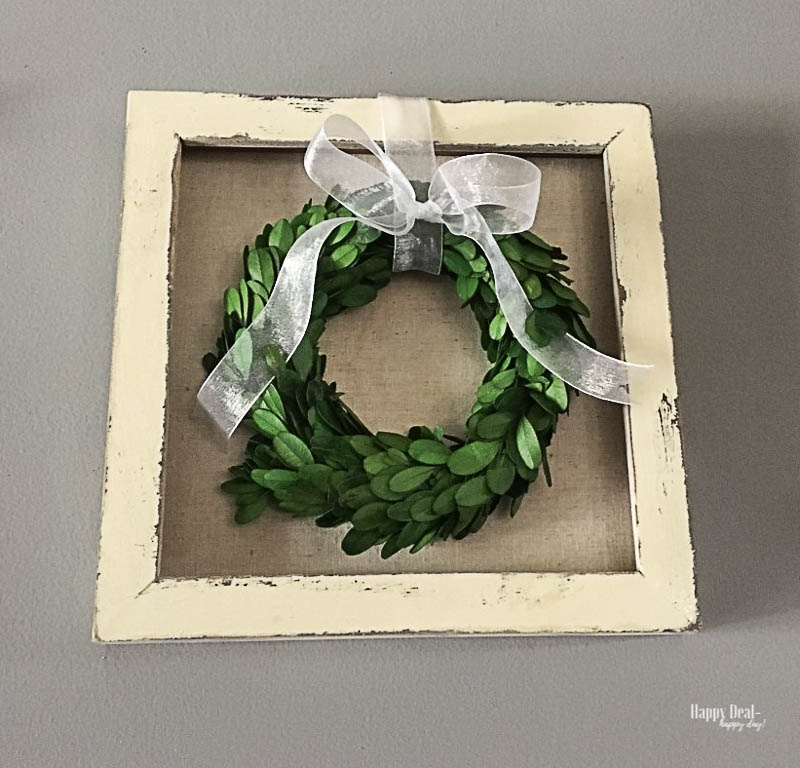
I hung it back up next to the macrame wall hanging and loved how they turned out! I didn’t make a blog post on how to make it (I watched a YouTube Video) but you can find one similar to it over here!
I like the dark brown frames so much better with a lighter color. I love the farmhouse feel to it with the distressed wood and pop of green color from the boxwood wreaths.
This was a very cheap project for me to make. The frames were 25 cents each. I already had the spray paint and ribbon on hand, so I only had to pay for the boxwood wreaths which were $13 each on Amazon.
I bet you could find something even cheaper at Michael’s with a coupon! I know that if I were to buy something similar to this at Joann Fabrics or Michael’s, I’d pay $20-$30 easily! Not only is this a cheaper way to decorate by completing a thrift store makeover, its also a lot of fun creating DIY wall art that I know I made myself!
Looking for more DIY home decor ideas? Check these out:
- Shabby Chic Display Shelf Makeover
- How To Make Mason Jar Wall Sconces
- DIY Drift Wood Mirrors
- Mason Jar Vase With Puffy Paint Flourishes
- How to Re-Decorate a Room on a Budget
- DIY Wood Tray Made From an Old Photo Frame
Subscribe To My Newsletter
Want more frugal tips or DIY project inspiration? Plus an amazing amount of Amazon promo code deals? Get my newsletter with exclusive content I don't share anywhere else!


Laura B. says
Love this idea! You can actually find wired boxwood pieces at the $1 store during the holidays. I always buy several!!
Maura says
Love that Laura – could make some really great and cheap gifts that way!
Maxine Waller says
How did you make the wall hanging? I love it!
Lindy says
Oh my goodness! You made my wall hanging with your talent and cording, just imagine that. Could not find it as a project but maybe I missed it. Could you direct us to the pattern we need to create the macrame wall hanging pretty please? I could kick my a#s for lending out my macrame books to someone who was notorious for not returning…
My first time seeing your talent and a happy follower I shall be,
regards,
Lindy
Maura says
Maxine and Linda – yes I did make the macrame wall hanging – but didn’t make a blog post about it. I just found a video on YouTube that showed me how to make it. I sort of followed the pattern here: https://www.youtube.com/watch?v=whhoNFpfjLo
Teralyn C says
The fun thing about macrame is that once you learn the knots it’s easy to get creative with it. I learned it in the 70s from my high school art teacher and I’m so happy it’s popular again.
Maura says
I agree Teralyn – so happy its popular again!